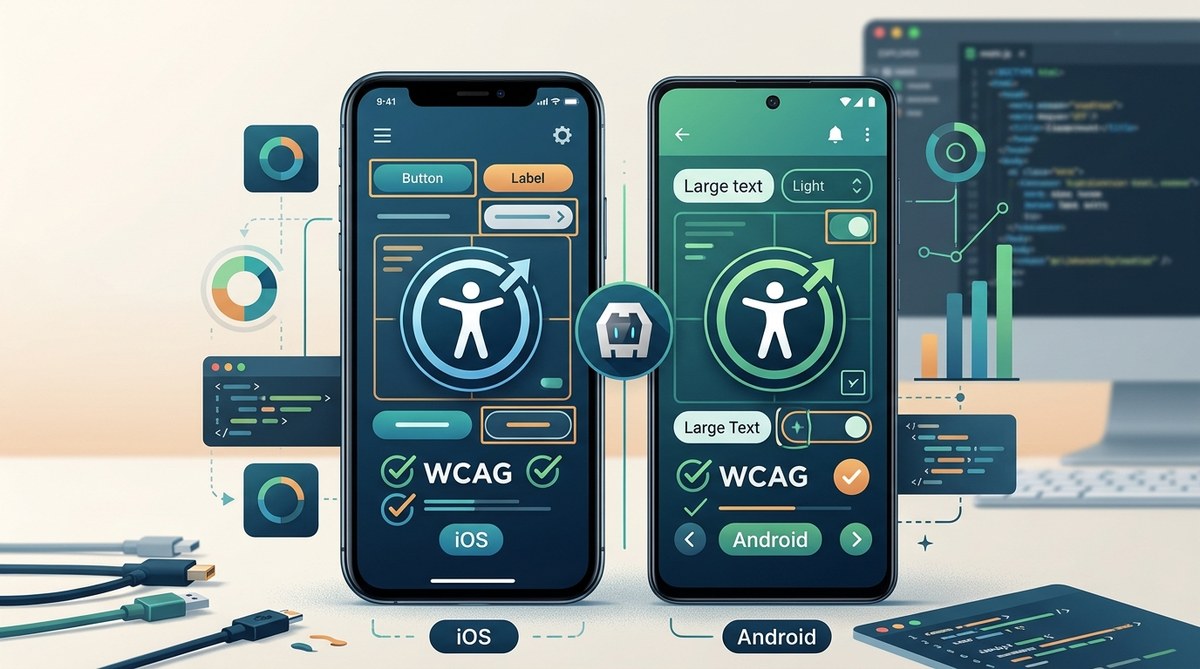
The first time a user with low vision opens your app and the screen reader skips past the login button entirely, you know you have a problem. But for millions of people, that frustrating experience happens every day. If you build mobile apps with Cordova, Flutter, or native iOS and Android tooling, accessibility is not just a nice to have. It is a legal requirement under the ADA and a core part of a solid user experience. This mobile app accessibility WCAG guide will walk you through the exact steps to make your app work for everyone, from touch target sizes to screen reader compatibility.
WCAG compliance for mobile apps comes down to four principles: perceivable, operable, understandable, and robust. You need touch targets at least 44×44 CSS pixels, proper ARIA labels for screen readers, and sufficient color contrast ratios. This guide gives you the platform-specific checklist for Cordova, iOS, and Android to meet legal standards in 2026.
Why WCAG Compliance Matters for Your Mobile App
Accessibility lawsuits against mobile apps have risen sharply in the last two years. In 2026, courts continue to interpret the Americans with Disabilities Act to cover digital products. If your app serves customers, government agencies, or education institutions, you need WCAG Level AA compliance. But beyond legal risk, accessibility opens your app to a wider audience. About 15 percent of the world’s population lives with some form of disability. That is a massive user base you might be ignoring.
For Cordova developers, the challenge is unique. Your app runs inside a WebView, which means you inherit both the flexibility of web technologies and the constraints of a browser environment. Screen readers like iOS VoiceOver and Android TalkBack interact with your app differently than they would with a purely native interface. You need to test on real devices, not just emulators.
The Four WCAG Principles Applied to Mobile Apps
WCAG is organized around four pillars. Here is how they translate to mobile development.
Perceivable
Users must be able to perceive your content. That means providing text alternatives for non-text elements. Every icon button needs an accessible label. Every image needs alt text. For video content, you need captions.
Operable
Users must be able to operate your interface. Touch targets need to be large enough. Gestures should have simple alternatives. Do not rely on pinch-to-zoom as the only way to expand content.
Understandable
Content and navigation must be predictable. Error messages should be clear. Forms should offer suggestions for correction. Language attributes must be set correctly in your HTML.
Robust
Content must be compatible with current and future assistive technologies. Use semantic HTML and proper ARIA roles. Avoid deprecated tags.
A Practical Accessibility Checklist for Your Next Release
Here are the most common WCAG failures in mobile apps and how to fix them.
| WCAG Criterion | Common Mistake | How to Fix It |
|---|---|---|
| 1.1.1 Non-text Content | Images without alt text | Add descriptive alt attributes to all <img> tags |
| 2.5.8 Target Size (AA) | Buttons smaller than 44×44 CSS pixels | Set minimum width and height to 44px |
| 1.4.3 Contrast Minimum | Light gray text on white background | Ensure contrast ratio is at least 4.5:1 for small text |
| 2.4.6 Headings and Labels | Buttons labeled “Click Here” | Use descriptive labels like “Submit Order” |
| 4.1.2 Name, Role, Value | Custom controls without ARIA roles | Add role="button" and aria-label to custom elements |
Platform Specifics: iOS and Android
iOS and VoiceOver
VoiceOver is Apple’s built-in screen reader. It uses a gesture-based navigation system. Swipe left or right to move between elements. Double tap to activate. For Cordova apps on iOS, you need to set the lang attribute on your HTML element. Use aria-label on interactive elements. Test with VoiceOver by going to Settings > Accessibility > VoiceOver.
One common issue: custom dropdowns that do not announce their expanded or collapsed state. Use aria-expanded="true" or aria-expanded="false" to fix this.
Android and TalkBack
Android’s TalkBack screen reader works similarly but uses different gestures. Swipe up or down to change reading mode. Double tap to activate. TalkBack relies heavily on the accessibility tree. If your Cordova app uses custom-drawn buttons without proper roles, TalkBack will skip them entirely.
Use role="button" and aria-label on custom controls. Set focusable="true" on elements that need keyboard navigation.
Expert advice from a senior Cordova developer: “The biggest win for accessibility in Cordova apps is using native HTML elements instead of custom divs. A
<button>element gives you focus management, screen reader announcements, and keyboard support for free. Do not reinvent the wheel.”
How to Test Your App for Accessibility
Testing should be a regular part of your development cycle, not a last-minute check. Here is a practical process you can follow.
- Run an automated scanner on your app’s UI. Tools like Axe for mobile can catch about 30 percent of issues. Focus on color contrast, missing alt text, and incorrect ARIA roles.
- Perform manual testing with a screen reader. Use VoiceOver on iOS and TalkBack on Android. Navigate your app with your eyes closed. Can you complete the main user flow?
- Check touch target sizes. Use a ruler overlay or a testing tool to verify all interactive elements meet the 44×44 pixel minimum.
- Test with keyboard-only navigation. On Android, connect a Bluetooth keyboard. On iOS, use the on-screen keyboard. Ensure you can tab through all controls.
- Review error messages. Submit a form with invalid data. Does the error message clearly identify the problem and suggest a fix?
For Cordova developers, pay special attention to plugins that add custom UI elements. A plugin that renders a custom date picker might not expose the correct accessibility properties. You may need to wrap it with ARIA attributes.
Common Pitfalls Specific to Cordova Apps
Cordova apps run in a WebView, which means they inherit browser behavior. That can be both a blessing and a curse.
- Focus order: The WebView might not respect your intended tab order. Use
tabindexattributes to control focus flow. - Zoom support: Users with low vision often zoom in. Ensure your app does not cut off content at 200 percent zoom.
- Custom gestures: Avoid requiring complex gestures like two-finger swipes. Provide a simple tap alternative.
- Loading states: When content loads asynchronously, announce the change with
aria-live="polite".
If you want to go deeper on cross-platform strategies, check out our guide on mastering Cordova plugin development for cross-platform compatibility. It covers how to build UI components that behave consistently across iOS and Android.
Building Accessibility Into Your Workflow
Accessibility should not be an afterthought. Here is how to integrate it into your daily development.
- Use a linter that checks for accessibility issues in your HTML and ARIA attributes.
- Add accessibility tests to your CI pipeline. Use tools like Lighthouse CI or Axe-core.
- Include accessibility in your definition of done. A feature is not complete until it passes screen reader testing.
- Train your team. Run a workshop where everyone uses TalkBack for an hour.
For Cordova projects, pay attention to the plugins you choose. Some plugins are not accessibility-aware. Test them early. If a plugin fails accessibility checks, look for an alternative or plan to wrap it with custom ARIA.
The Cost of Getting It Wrong
Beyond the legal risks, poor accessibility creates real harm. A user who cannot read your app’s error messages might miss a critical deadline. A parent who cannot navigate your school app might fail to submit a permission slip. Accessibility is about dignity and inclusion. It is also about good business. Users who find your app difficult to use will leave a one-star review and tell their friends.
If you are looking for more ways to improve your app’s overall quality, our guide on 5 essential testing strategies for Cordova apps in 2026 covers automated and manual testing approaches that pair well with accessibility checks.
Your Next Steps for an Accessible App
Start small. Pick one user flow in your app and make it fully accessible. The login flow is a good place to begin. Add proper labels, ensure keyboard navigation works, and test with a screen reader. Once that flow passes, move to the next one. Over time, you will build a library of accessible components that you can reuse.
Accessibility is a journey, not a destination. Every fix you ship makes the web and mobile ecosystem better for everyone. And in 2026, with legal pressure mounting and user expectations rising, there has never been a better time to start. Open your app right now, turn on VoiceOver or TalkBack, and try to complete a task. You will learn more in five minutes than from reading ten guides. Then fix what you find. That is how you build an app that truly works for everyone.