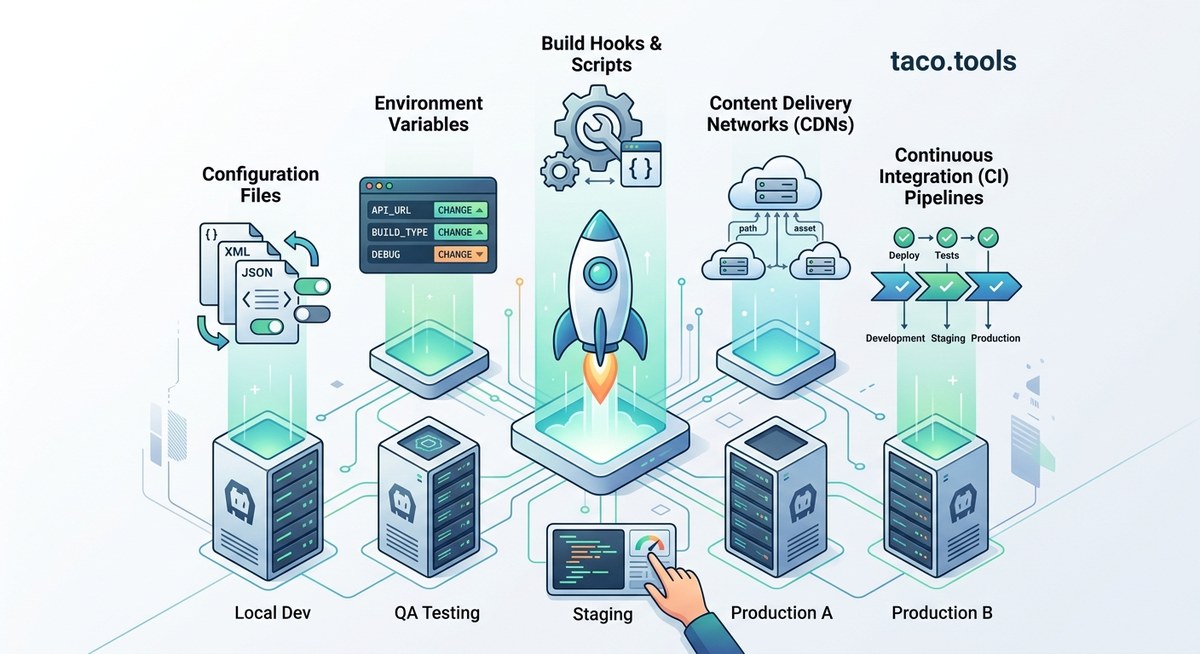
Managing environment-specific configurations for your Cordova project can feel like juggling too many balls at once. You might be manually swapping API endpoints, toggling feature flags, or crossing your fingers before a production build. The good news is that with a few smart strategies, you can tame the chaos and focus on what matters: building a great hybrid app. Whether you are a solo developer or part of a busy team, these practical tips will help you keep dev, staging, and production separate, consistent, and ready to ship.
Managing multiple environments in Cordova projects doesn’t have to be painful. Use a single configuration file with environment variables, rely on Cordova hooks to inject values at build time, keep platform configs synchronized, automate deployments with CI/CD, and always validate each environment separately. These five approaches turn a messy workflow into a reliable, repeatable process that saves time and reduces errors.
Why Managing Multiple Environments Matters
When your app runs differently on your laptop vs. a tester’s phone vs. the App Store, bugs multiply. You might push a staging API key to production or forget to disable debug logging. A solid environment strategy ensures that:
- Dev has mock data and verbose logging.
- Staging mirrors production closely but points to test servers.
- Production uses real endpoints, payment gateways, and analytics.
Without a system, you risk accidental leaks, broken builds, and late nights. Let’s change that.
Tip 1: Use a Single Configuration File with Environment Variables
Stop scattering API URLs and feature flags across your JavaScript files. Instead, create a single JSON or JS file that holds all environment-specific values. Here’s a clean pattern:
// config.js
const environments = {
  development: {
    apiBase: 'http://localhost:3000',
    enableAnalytics: false,
    logLevel: 'debug'
  },
  staging: {
    apiBase: 'https://staging-api.myapp.com',
    enableAnalytics: true,
    logLevel: 'info'
  },
  production: {
    apiBase: 'https://api.myapp.com',
    enableAnalytics: true,
    logLevel: 'error'
  }
};

const env = window.__ENV__ || 'development';
module.exports = environments[env];
- Inject
window.__ENV__via a build script or Cordova hook. - Keep your secrets out of version control (use
.gitignorefor keys). - Add a fallback to development so you never accidentally ship an undefined environment.
This approach makes it trivial to switch contexts. For more advanced cases, you can encrypted environment variables with plugins like cordova-plugin-env.
Expert tip: Always validate that your config file has no uninitialized variables. A missing
productionkey could point to staging servers in a live app. Use a simple validation function at startup.
Tip 2: Leverage Cordova Hooks for Build-Time Injection
Cordova hooks run scripts before or after certain lifecycle events (like prepare, build, compile). They are perfect for injecting environment variables without manual edits.
Here is a step-by-step process using a hook that reads a --env flag:
- Create a hook script inside
hooks/(e.g.,hooks/before_prepare/set_env.js). - Parse the command line for
--env=production. - Read your config file and assign the values to
process.env. - Modify your
index.htmlorwww/js/config.jsto replace placeholders like__API_BASE__. - Run your build with
cordova build android --env=production.
A practical example of a hook script (simplified):
#!/usr/bin/env node
const fs = require('fs');
const path = require('path');

const envArg = process.argv.find(arg => arg.startsWith('--env='));
if (!envArg) return;

const env = envArg.split('=')[1];
const config = require('./config.json')[env];

let content = fs.readFileSync('www/index.html', 'utf8');
content = content.replace('__API_BASE__', config.apiBase);
fs.writeFileSync('www/index.html', content);
- Advantage: no manual copy-pasting across environments.
- Caveat: remember to restore
index.htmlafter the build (use anafter_preparehook to revert).
For a deeper explanation of automating builds, check out our guide on how to automate Cordova builds with GitHub Actions.
Tip 3: Keep Platform-Specific Configs in Sync
Cordova projects often have platform folders (Android, iOS) with their own configuration files like AndroidManifest.xml or *-Info.plist. Environment-specific values (such as bundle IDs, app names, or push notification certificates) can get out of sync easily.
Use the table below to avoid common mistakes:
| Common Mistake | Why It Hurts | Better Approach |
|---|---|---|
| Manually editing config.xml for each environment | Easy to forget and break the build | Use cordova-custom-config plugin to inject environment variables |
| Hardcoding app name in platform files | Staging and production apps have same name, confusing users | Set widget id and name via environment variables in config.xml |
| Keeping API keys in platform-specific plist/xml files | Keys can leak if platform folders are accidentally committed | Load keys from your config.js at runtime using environment injection |
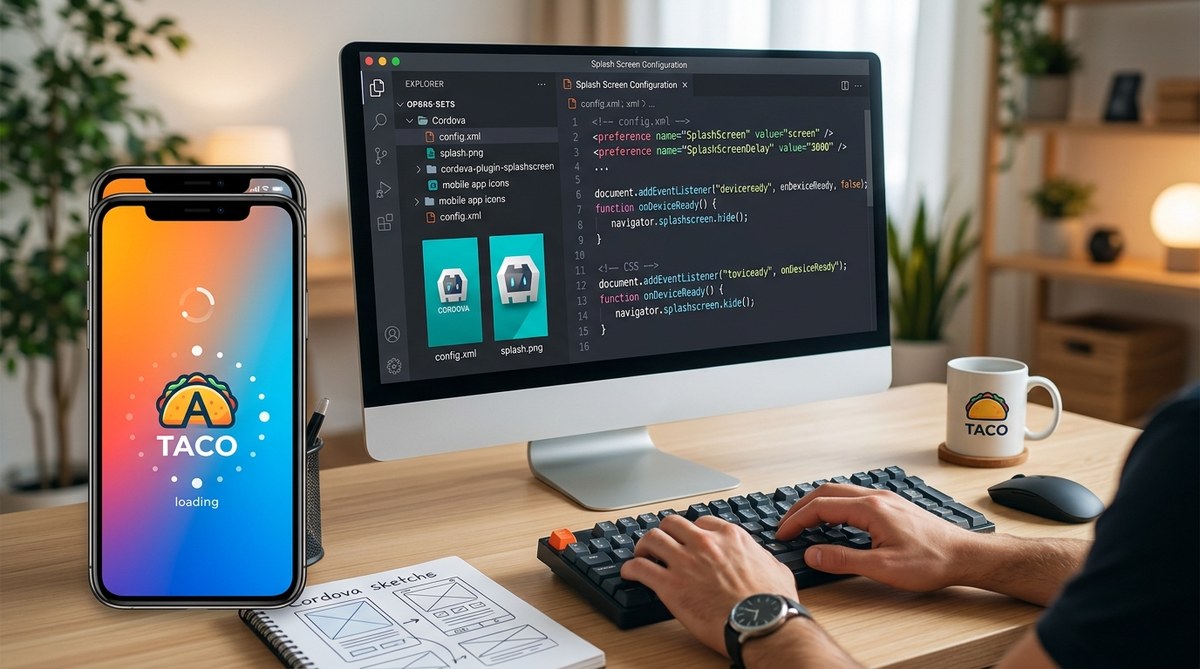
Forgetting to update SplashScreenDelay for different builds |
Debug builds with long splash screens waste time | Create separate resources per environment or use hooks to swap files |
Good practice: Never commit platforms/ folder to source control. Generate it fresh for each environment using cordova prepare after your hook injects the right values.
For a comprehensive look at building secure apps, read our guide on top best practices for building secure Cordova applications in 2026.
Tip 4: Automate Builds with CI/CD for Each Environment
Manual builds lead to human error. Set up a continuous integration pipeline (GitHub Actions, GitLab CI, or Jenkins) that automatically builds and signs your app for each environment.
Here is a bullet list of what a good pipeline does:
- Triggers on push to
mainfor production, and todevelopfor staging. - Installs dependencies (npm, Cordova, Java, Android SDK).
- Checks out the correct branch (e.g.,
developfor staging). - Runs Cordova hooks with the environment flag (e.g.,
--env=staging). - Builds the app (
cordova build android --release --env=staging). - Runs tests (unit tests, instrumentation tests).
- Signs and packages the APK or IPA.
- Deploys to distribution services like App Center, TestFlight, or internal servers.
Why this matters: You get consistent, repeatable builds. No more “it works on my machine” problems. And you can promote a staging build to production with a single button push.
If you are using GitHub Actions, our detailed article on how to automate Cordova builds with GitHub Actions walks you through setting up workflows with environment variables.
Tip 5: Test Thoroughly Across All Environments
Even with automation, you must validate each environment independently. Use a numbered process to catch errors early:
- Run a local dev build (
cordova run android --env=development) and check that mock data loads and logs appear. - Build a staging APK and distribute it to a small tester group via a service like Firebase App Distribution.
- Verify backend connections point to staging servers, not production.
- Toggle all feature flags that are enabled in staging but disabled in production (e.g., in-app purchases should always use sandbox).
- Perform a smoke test on a production-like device (no jailbreak, airplane mode off, real SIM).
- Check the config file in the built APK by unpacking it and inspecting the
wwwfolder.
Expert advice: Never trust that your environment injection worked until you see the actual values in the running app. Add a hidden debug screen that shows the current environment name, API base URL, and build timestamp. Remove it from production builds using a hook.
For more testing strategies, check out our 5 essential testing strategies for Cordova apps in 2026.
Bringing Sanity to Your Cordova Environment Management
Managing multiple environments doesn’t have to be a source of stress. By centralizing configuration, automating injections with hooks, syncing platform files, leveraging CI/CD, and testing systematically, you can build with confidence. Start small: pick one tip from this list and implement it today. Next week add another. Before you know it, your workflow will be smooth, repeatable, and free of environment-related surprises.
Your future self (and your QA team) will thank you.