Push notifications bring your Cordova app to life. They re-engage users, deliver time-sensitive updates, and boost retention numbers. The process to add them has become smoother in 2026, but it still requires careful setup across Android and iOS. Whether you are building a social app, a delivery tracker, or a news reader, getting push right can make or break your user experience.
Adding push notifications to a Cordova app in 2026 is straightforward when you use the right plugin and follow each platform’s requirements. You need a Firebase project, a compatible Cordova plugin, and proper token handling. Avoid common errors like missing Firebase config files and mismatched server keys. This guide walks you from zero to a working push notification system in under an hour.
Why Push Notifications Still Matter for Hybrid Apps
Users expect instant alerts even inside a hybrid WebView. Cordova apps have historically struggled with native features, but the plugin ecosystem has matured. Firebase Cloud Messaging (FCM) is the go-to backend for both Android and iOS. It handles delivery, grouping, and analytics. Pair it with a solid Cordova plugin and you get the same reliability as a fully native app.
A push notification can increase daily active users by 20% or more. For a Cordova app, you also keep the cross-platform advantage without sacrificing engagement. The key is to implement push notifications in your Cordova app correctly from the start.
Prerequisites Before You Start
Before writing any code, gather these pieces:
- A Firebase project (free tier works fine)
- Your app’s bundle identifier (Android package name, iOS bundle ID)
- A physical device or simulator that can receive push notifications (emulators work, but physical devices are more reliable)
- Cordova CLI installed (10.x or later recommended for 2026)
- Node.js 18+
Having these ready will save you a lot of back-and-forth later.
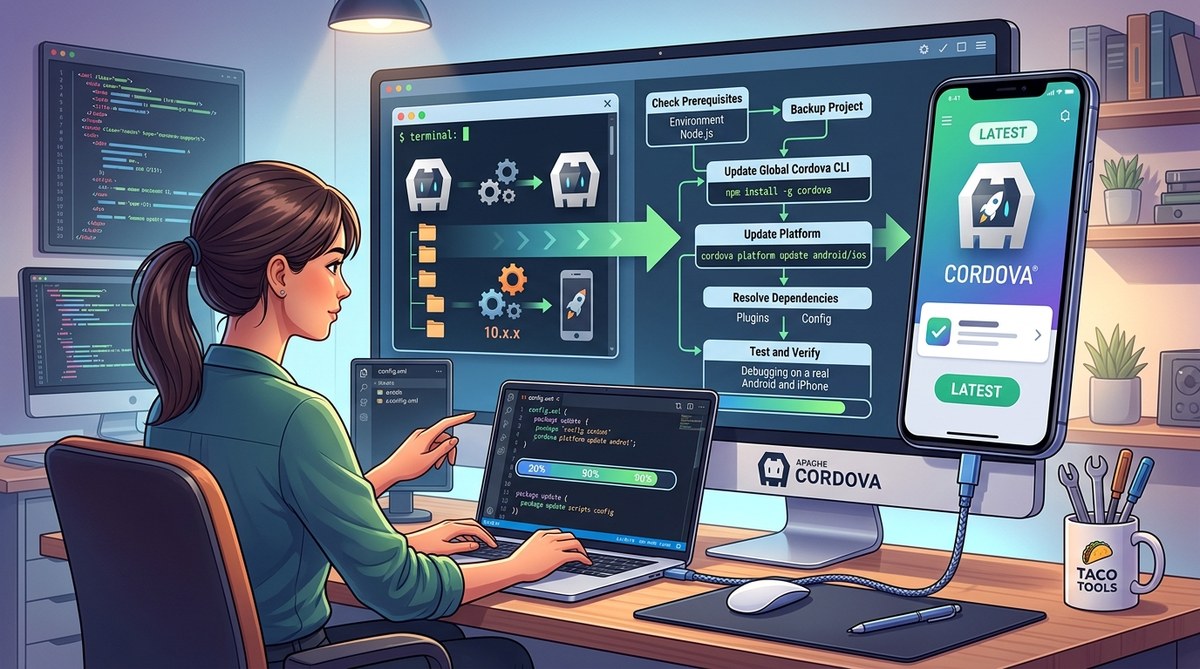
Step-by-Step: Implement Push Notifications in Your Cordova App
Follow these steps to set up push with cordova-plugin-firebase-messaging (the most actively maintained plugin in 2026). The process is almost identical for Android and iOS, with only minor differences in the Firebase configuration.
1. Create and Configure Your Firebase Project
- Go to the Firebase Console and create a new project (or reuse an existing one).
- Register your app: add an Android app with your package name and an iOS app with your Bundle ID.
- Download the
google-services.jsonfile for Android andGoogleService-Info.plistfor iOS. - Place the Android file in your Cordova project at
platforms/android/app/(or let the plugin handle it via a hook). For iOS, add the.plistfile to the root of your project.
Expert advice: Do not skip the SHA-1 fingerprint for Android if you plan to use Firebase features like Dynamic Links. For push only, you can leave it blank.
2. Install the Plugin
Run the following command in your project directory:
cordova plugin add cordova-plugin-firebase-messaging
This plugin wraps the latest Firebase SDKs and provides a JavaScript API for token registration, foreground/background message handling, and notification permissions.
3. Request Permission (iOS Only)
iOS requires explicit user permission for push notifications. Call the permission method early in your app’s lifecycle, ideally after a user performs an action that justifies the notification.
FirebaseMessaging.requestPermission().then(() => {
  console.log('Permission granted');
}).catch((error) => {
  console.error('Permission denied:', error);
});
On Android, permission is not required for basic push, but Android 13+ (API 33) also needs a runtime permission. The plugin handles this automatically.
4. Obtain the Device Token
After permission is granted (or on app launch for Android), retrieve the device token:
FirebaseMessaging.getToken().then((token) => {
  console.log('Push token:', token);
  // Send this token to your server
}).catch((error) => {
  console.error('Token retrieval failed:', error);
});
Send this token to your backend so it can target the device. Store it in a database associated with the user’s account.
5. Listen for Incoming Messages
You need listeners for three scenarios:
- Foreground: The user is actively using the app.
- Background: The app is in the background but not killed.
- Killed (iOS) or terminated (Android): The user swiped the app away.
// When the app is in the foreground
FirebaseMessaging.onMessage().subscribe((payload) => {
  console.log('Message received:', payload);
  // Show an in-app notification or toast
});

// When the app is in the background (user taps the notification)
FirebaseMessaging.onBackgroundMessage().subscribe((payload) => {
  console.log('Background message:', payload);
  // The notification is shown automatically by the system
});
The plugin handles displaying the system notification in the background. You only need to manage the foreground presentation and any custom behavior.
6. Send a Test Push
Use the Firebase Console Notifications tab to send a test message to a single device token. Alternatively, use the Firebase Admin SDK or a service like Postman with Firebase Cloud Messaging HTTP v1 API.
Common Mistakes When Adding Push to Cordova
Even experienced developers slip up. Here is a table of the most frequent errors and how to avoid them.
| Mistake | What Happens | How to Fix |
|---|---|---|
Missing google-services.json |
Android build fails or push never works | Place the file in platforms/android/app/ before building |
| Wrong bundle ID in Firebase | Registration fails silently | Double-check your Android package name and iOS bundle ID |
| Not handling foreground messages | Notifications appear only in background; users see nothing in-app | Implement onMessage() and display a custom UI |
| iOS: no push capability | App crashes or never registers | Enable Push Notifications under Capabilities in Xcode (or via cordova-plugin-firebase-messaging config) |
| Server uses legacy FCM API | HTTP 401 errors | Migrate to HTTP v1 with OAuth 2.0 (Firebase Admin SDK recommended) |
| Token not refreshed regularly | Old tokens stop working | Listen for token refresh events and update your server |
Best Practices for Robust Push Notifications
- Store tokens with a timestamp. Devices can rotate tokens. Update your database when a new token arrives.
- Use notification channels on Android. Cordova apps should define channels in the plugin config to let users control notification categories.
- Test on real devices. Simulators can miss edge cases like background data restrictions or battery optimization.
- Handle errors gracefully. If token retrieval fails, retry or queue the request. Do not block the user interface.
- Respect user preferences. Give users an option to opt out of certain notification types inside your app settings.
For more on optimizing the overall app experience, check out our guide on boost your Cordova app performance with effective optimization techniques. A responsive app makes push notifications feel less intrusive and more valuable.
Debugging Push Notification Issues
When push does not arrive, start with these checks:
- Is the device token registered on your server? Log it and compare.
- Did you send the message to the correct platform (Android/iOS)?
- Check the Firebase Console analytics for delivery reports.
- Verify that your app is not excluded from background activity (battery saver, etc.).
- For iOS, confirm that the Push Notification capability is enabled in the provisioning profile.
For a deeper look at debugging hybrid apps, read our post on essential debugging tips for hybrid Cordova applications. It covers tools like Safari Web Inspector and Chrome DevTools for Android.
Keep Your Push Setup Future-Proof
Cordova push plugins depend on native SDKs that update yearly. In 2026, Firebase Cloud Messaging is on version 24.x for Android and 10.x for iOS. Always keep your plugin versions up to date to avoid breaking changes from OS updates. Follow the 5 ways to future-proof your Cordova apps against OS updates strategy to stay ahead.
Final Push Implementation Checklist
- [ ] Firebase project created with both Android and iOS apps
- [ ] Config files placed correctly
- [ ] Plugin installed and permissions handled
- [ ] Token obtained and sent to server
- [ ] Foreground and background listeners set up
- [ ] Test message sent to a real device
- [ ] Server endpoint for token updates ready
- [ ] Notification channels defined for Android
Now you have a working push notification system in your Cordova app. The next step is to craft engaging messages that bring users back. Experiment with personalization and timing. Track open rates and iterate. Your hybrid app can compete with any native app in terms of notifications, as long as you implement push notifications in your Cordova app with the right foundation.
If you run into platform-specific snags, remember that the Cordova community and Firebase documentation are both excellent resources. You’ve got this.